
If you don’t have a business website and need a one-pager, generating a static HTML site with Claude is an easy, affordable option. No code or command-line prompting is needed. No CMS subscription required.
If you want to set up a small, multi-page site — say, 10 or fewer pages — this method will work too. For larger sites, it becomes too cumbersome to maintain. Other options exist (see below), but they involve command-line prompting.
Steps for a one-page site
-
Purchase a domain
If you don’t have one already.
-
Prompt Claude to generate the page
Ask for a one-page site based on your messaging. Ask Claude to add placeholders for three compatible images, with dimensions and prompts for each. Also ask for off-page elements — meta properties and structured data — and for sufficient contrast ratios.
-
Save the page as index.html
Download the generated HTML page to a local folder and name it
index.html. The name of the folder doesn’t matter — you can use ‘Netlify.’ -
Generate and compress the images
Prompt a photo generator like Google Nano Banana or Grok Imagine to create each of the three on-page images plus a site icon image. Download them, compress them with TinyPNG, and save them to a subfolder called
images.
Your local folder structure will look something like this. This is the structure for a test page we created.
Netlify/
├── images/
│   ├── hero-taco-tray.jpg
│   ├── masa-comal.jpg
│   ├── patio-string-lights.jpg
│   └── sonoma-tacos-site-icon.png
└── index.html
-
Create a Netlify account
The free tier is enough for a site like this.
-
Upload the folder
Upload the Netlify folder to a new project in Netlify.
-
Point your DNS at Netlify
In the settings for your domain, point the DNS to Netlify.
-
Add the domain to the project
Back in Netlify, add the domain to the project.
-
Check out your site
Load your domain in a browser and confirm everything renders the way you expect.
You can make updates via additional prompts in the original Claude chat.
TipSave each successive HTML file in a separate local folder and version each one as you save it — my-site-v1.html, my-site-v2.html, and so on. Then overwrite index.html in the folder that gets uploaded to Netlify.

Steps for a multi-page site
The process is similar, but for a multi-page site, you have to create a separate folder for each interior page or post. The root folder contains index.html (the homepage), robots.txt, sitemap.xml, 404.html, and _redirects.
Here is part of the directory structure for this website.
Netlify/
├── ai-brand-visibility-check/
│   └── index.html       (page)
├── blog/
│   ├── index.html       (blog directory)
│   ├── brand-name-optimization-bno/
│   │   └── index.html   (blog post)
│   ├── foundational-backlinks/
│   │   └── index.html   (blog post)
│   └── post-url-structure/
│       └── index.html   (blog post)
├── images/              (all site images)
├── videos/              (short videos)
├── index.html           (homepage)
├── robots.txt
├── sitemap.xml
├── 404.html
└── _redirects
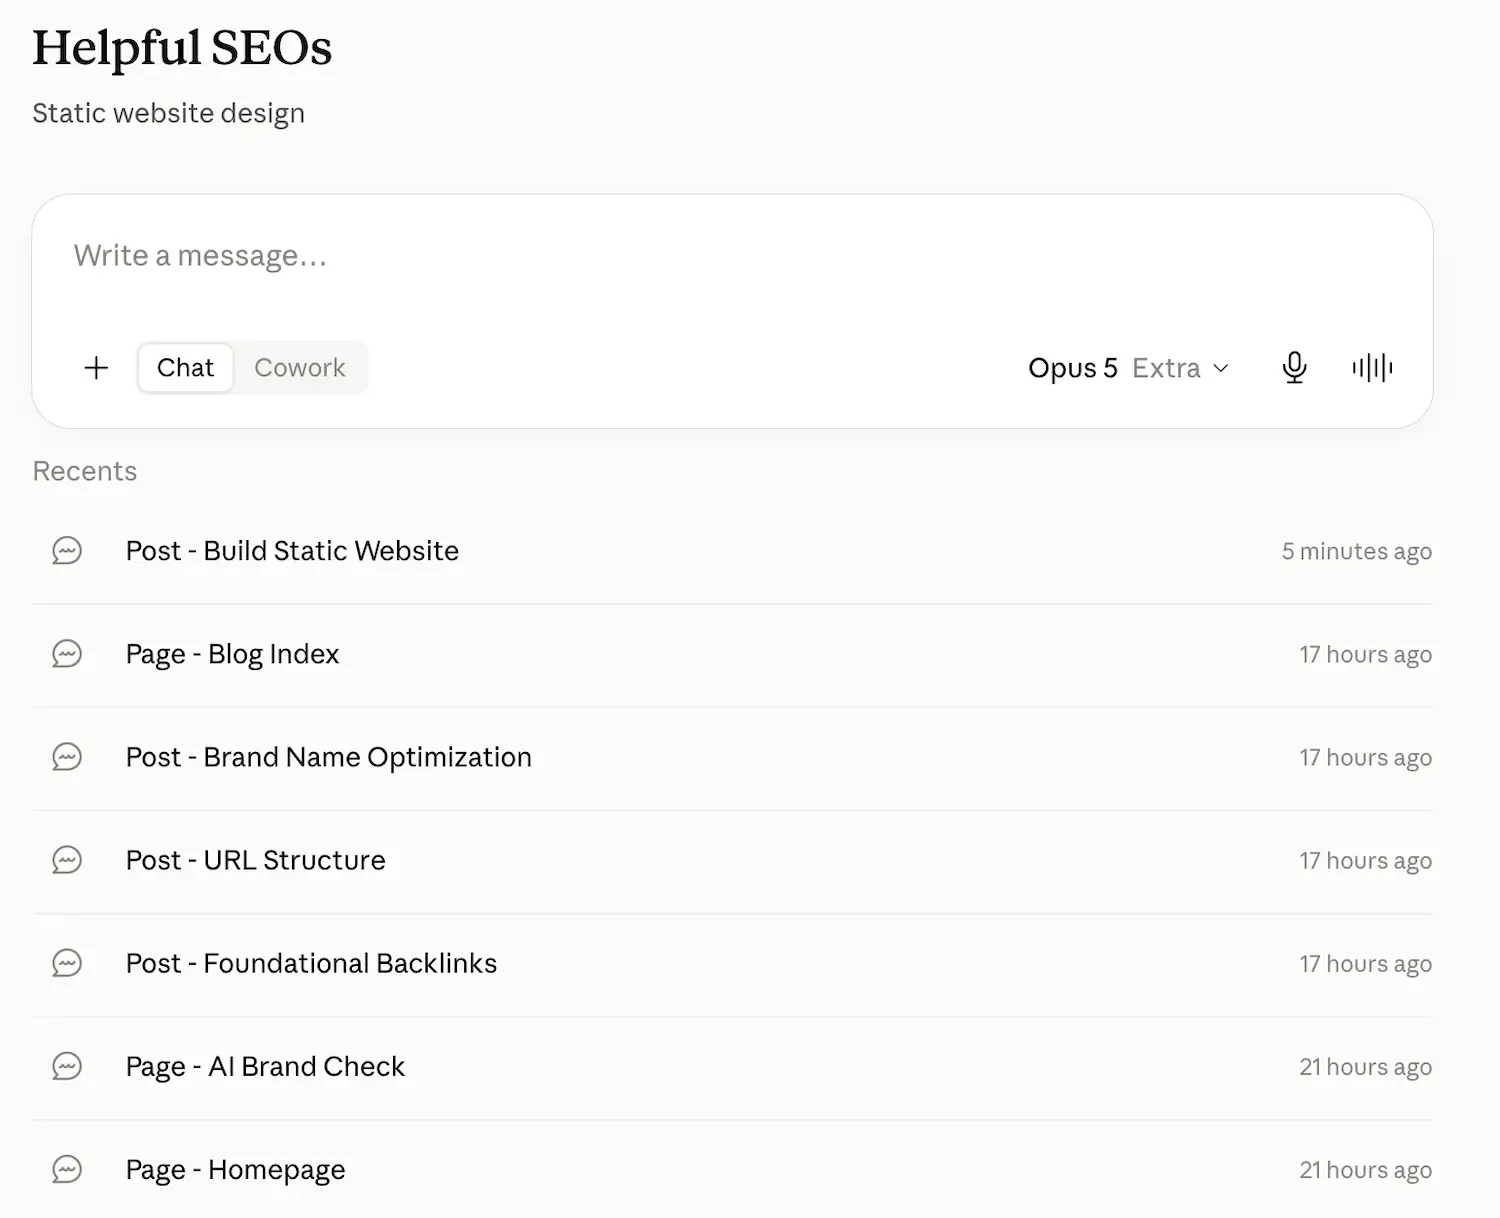
Here is an example site management project in Claude.
The _redirects file is how Netlify sends retired URLs to their replacements. Each line is an old path, the path it should go to, and a status code — use 301 for a permanent move so the old URL’s link equity transfers.
/blog/category/*         /blog/  301
/client-testimonials/    /       301
The first line retires the category archives from an old CMS. A static site has no category pages, so the wildcard catches every one of those URLs and sends it to the blog index. The second covers content that moved rather than disappeared — a testimonials page whose content now lives on the homepage. The file takes no extension, and it has to sit in the root folder.
Keep in mindFor either a one-page or multi-page website, any time you make a change, you have to reupload the top-level folder and all its contents.
Advantages of a static HTML website
Static websites offer several advantages.
Fast performance
No database to query and no plugins to load. The server hands over HTML and images.
More flexibility
You aren’t working inside a theme or a page builder, so the layout can be whatever the page needs.
Strong security
Almost no attack surface. There is no login, no database, and no plugin stack to keep patched.
Disadvantages of a static multi-page HTML website
No user friendly editor
You prompt for changes (or edit HTML) rather than typing in a page editor.
No global header or footer
If you change either one, you need to prompt for the change across all pages and posts.
No automatic updates
Neither the blog index page nor sitemap.xml automatically update as new blog posts are added.
Other static HTML options
Options for larger sites include these three static site generators.
All three give you shared headers, footers, and templates across a large site. All three also expect you to work at the command line.